JAVA
Use NPM to Distribute Your Command-Line Java Apps
From time to time, I need to develop and distribute a command-line application to my customers, and I prefer to write these apps in Java. But I’ve been frustrated by the Java eco-system’s lack of good distribution options for this type of app. I look at tools like Cordova and Ionic that provide a neat “single-line” installation instructions and wonder why I can’t achieve the same thing with Java.
My general solution up until now has been to zip up the executable Jar with its dependencies, and post it for my users to download. The installation instructions then become something like:
- Download myapp.zip
- Extract it
- Then run the app using something like “java -jar /path/to/myapp/myapp.jar”
Sometimes I go as far as writing shell script launch scripts that people can add to their PATH, but this adds an additional installation step…. we were already at 3 possible places for users to get stuck.
Compare this to the installation instructions for Cordova:
- Open a command prompt and type “npm install -g cordova”. No need to download anything manually. Just one command
- Once installed, you can just run “cordova”, you don’t need to know where it was installed. A symlink is automatically installed in your environment PATH.
That is the type of user experience I want for my command-line apps. Java offers some great package management options for distributing libraries (e.g. Maven and Gradle), but these don’t offer a simple way to distribute applications. Wouldn’t it be nice if we had a way to distribute command-line apps the same way?
NPM to the Rescue
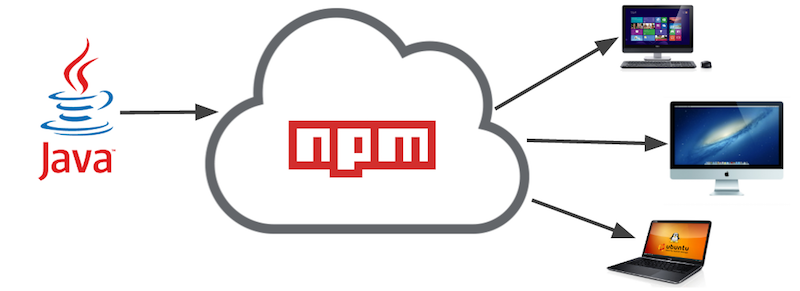
The examples I provided above (Cordova and Ionic) both use NPM as their distribution mechanism. That is what allows them to provide such a smooth process. If you’re not familiar with NPM, it is the package manager that is bundled with NodeJS. Unlike Maven, which is constrained to use in the Java ecosystem (you can only distribute .war, .jar, and pom files), NPM allows you to distribute all manner of files, so why not use it to distribute Java apps. Sounds crazy, I know. But let’s look at some of the features of NPM that make it ideal for distributing Java applications:
- WORA – NPM is cross platform, and is automatically installed when users install NodeJS on their system. NodeJS provides a simple double-clickable installer for Mac, Windows, and Linux, so your application can easily be installed on all major platforms.
- Pain-free Publishing – Publishing an app to NPM is as simple as
npm publish. If you don’t yet have an account on NPM, it’s as simple asnpm login. Literally could take you under a minute to get set up and rolling. - Adds to PATH – NPM will automatically add symlinks for your application to the environment path when installed globally. On windows it automatically generates a .cmd script to launch the app. That is the magic that allows apps like Cordova to provide single-line installation instructions.
In addition to all this, NPM provides automatic versioning and updates so that it is easy for you to push updates out to your users. This is a big deal.
But How Do I Deploy my Java App using NPM
You say: This is all fine and well, but how do I leverage NPM to deliver my Java application. NPM is designed to distribute apps written in Javascript, not Java.
I respond: Let me introduce you to jDeploy
jDeploy is a tool that allows you to publish your Java applications on NPM so that users can install it directly using a simple command like
npm install -g your-app
It will take an executable Jar file and bundle it in a node module with all of its dependencies, and publish it to NPM. The resulting app doesn’t even require that the users have Java installed, as it will automatically install a JRE if it detects that Java isn’t installed.
Example
Installing jDeploy
$ npm install -g jdeploy
Publishing an App to NPM
Suppose you have an app in an executable jar file, “myapp.jar”. Place this in a directory on its own, and open a command prompt in this directory, and type:
jdeploy init
This will generate a package.json file for your app that is ready and configured to publish on NPM. You may want to edit this package.json slightly to suit your purposes. The default will look something like:
{
  "bin": {"myapp": "jdeploy-bundle/jdeploy.js"},
  "preferGlobal": true,
  "version": "1.0.1",
  "jdeploy": {"jar": "myapp.jar"},
  "dependencies": {"shelljs": "^0.7.5"},
  "license": "ISC",
  "name": "myapp",
  "files": ["jdeploy-bundle"]
}
The “myapp” key in the “bin” property is the command name for your app. This is the name of the command that users will run on the command-line to use your app. Change this to something else if you want the command to be different.
The “name” property should be globally unique. This is the identifier that will be used to install your app from NPM. E.g. npm install -g myapp. You may need to change this if the name is already taken by someone else.
Once you’re happy with the settings, you can test out the app locally to make sure it runs.
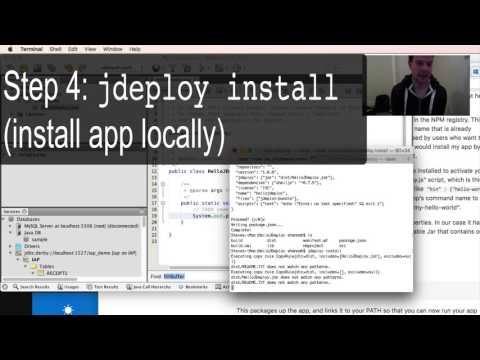
$ jdeploy install
This should install your command locally so you can try it out:
$ myapp
And your app should run.
Once you’re satisfied that your app works the way you like, you can run
$ jdeploy publish
Installing Your App
Now that your app is published, people can immediately install your app from anywhere in the world, on any computer that runs NPM with a single command:
$ npm install -g myapp
NOTE: On Mac/Linux you will need to use sudo to install the app. Windows should work as long as you are using an administrator account.
Screencast