
CODENAME ONE, JAVA, MOBILE DEVELOPMENT, SOFTWARE DEVELOPMENT
Video: Building a Codename One Project for iOS
This is the third video in my series about our new online tool, Codename One initializr, which allows you to generate a Maven starter project for a native mobile app in one click. The first video showed how to generate the starter project, and run it in the Codename One simulator. The second video showed how to build and deploy the project on an Android device. In this video I show how to build and deploy the project on an iOS device.
TLDW (Too Long Didn’t Watch):
This video starts out with my Codename One project already opened in IntelliJ. See this post for steps on how to generate this project.
In the video I demonstrate two different approaches for building the iOS app.
- Locally (0:55-2:45) – Requires a Mac with Xcode Installed.
- Using Build Server (6:45-8:35) – Can be built on Windows, Linux, or Mac. With no special requirements beyond Maven and the JDK. You just need a free Codename One account.
NOTE: I also show how to generate your iOS certificates and provisioning profiles using the Certificate Wizard (2:45-6:45), as this is required to build apps for iOS.
Building Locally
The local build option generates an Xcode project, which we then open and build using Xcode.
To trigger this build, select “Local Builds” > “Xcode iOS Project”:
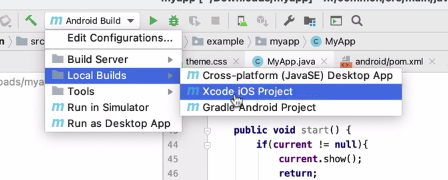
Then press the “Run” button.
It takes the ParparVM compiler a minute or two to do its thing, but when it’s done, it opens the generated Xcode project in Xcode.
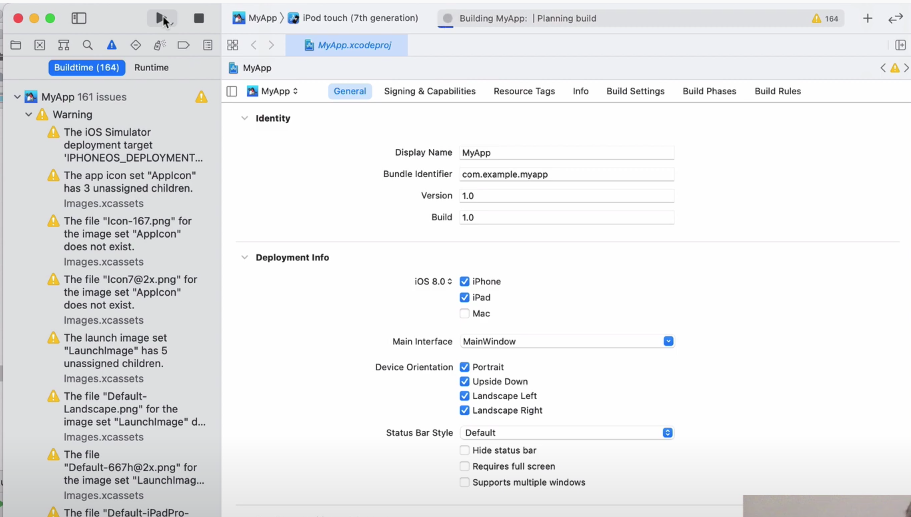
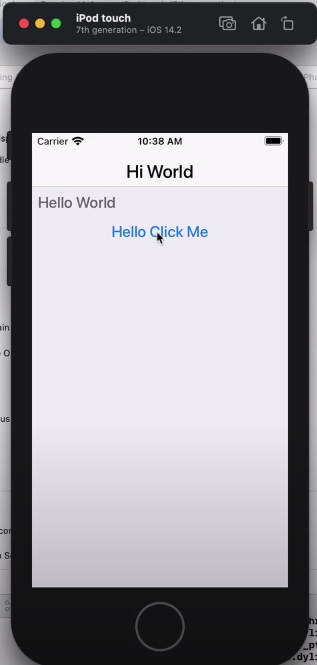
Once opened, I press the “Run” button on the Xcode toolbar and wait while it compiles the project. When it is done, it opens the iOS simulator with my app running in it.
Building with the Build Server
One of the nice things about Codename One is that it provides a build server with all of the native build tools installed and up-to-date. This simplifies the process of building native apps greatly. You can build your project for iOS, Android, Mac Desktop, Windows Desktop, Windows UWP, and Javascript without requiring any special build tools installed beyond the JDK. Building for any of these targets is as simple as pressing a button, or running a Maven goal.
Generating Certificates
Building for iOS requires that you have an Apple developer account. Additionally, Apple requires you to generate certificates and provisioning profiles for your apps. This is by far the most painful part of app development. To help ease the pain, Codename One provides a certificate wizard to help generate these. Before I can submit my first iOS build, I need to walk through the certificate wizard to generate these certificates. The certificate wizard process starts at approx 2:45 in the video, and runs until 6:45.
To access the certificate wizard, I need to open Codename One Settings. I do this by selecting “Tools” > “Codename One Settings” from IntelliJ’s configuration menu, then pressing the “Run” button.
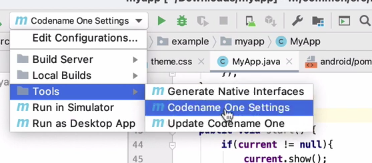
This will open The Control Center (aka Codename One Settings, aka Codename One Preferences):
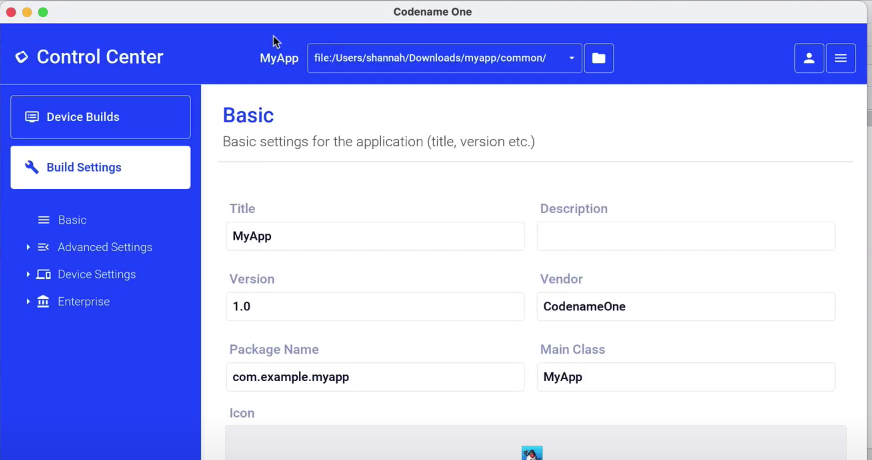
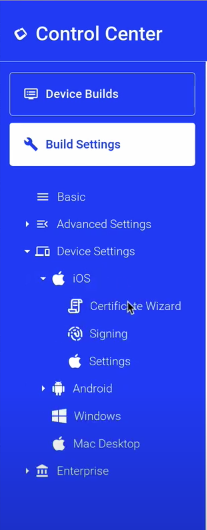
Once there, I select “Device Settings” > “iOS” > “Certificate Wizard” from the navigation menu on the left.
This displays the login form for the certificate wizard:
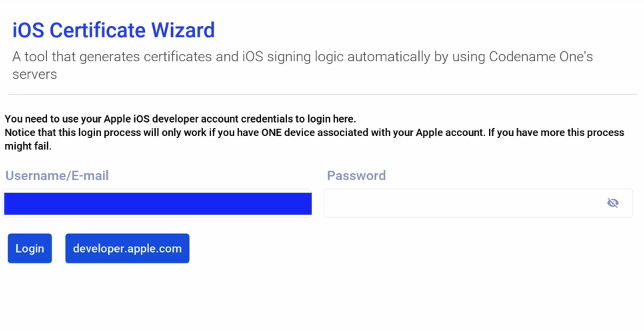
IMPORTANT: You need to use your Apple Developer account to login to this form. NOT your Codename One account.
In the video I spliced out some of the waiting time. The login can take a little while, so be patient. Once logged in, it shows me a list of my registered development devices, and I can select which ones I want to be able to deploy this app to for testing and debugging.
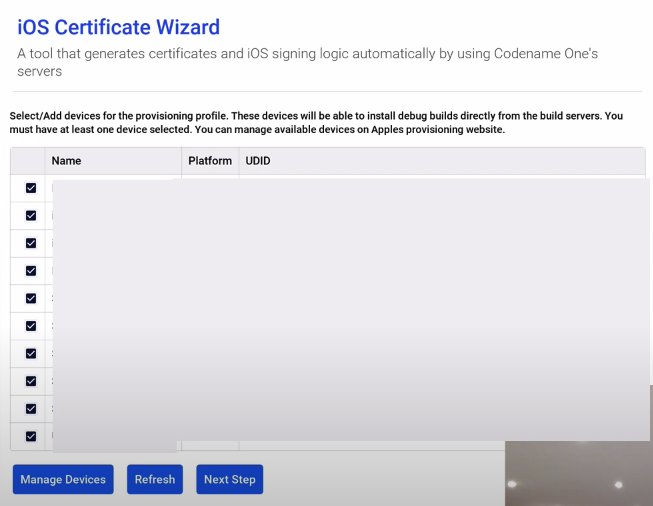
The above screenshot has all of the rows greyed out. When you log in, you’ll see device names and UDIDs listed on this form.
Generally I select all of them. If this is your first time building an iOS app, then you may not have any devices listed yet, and you’ll need to click on the “Manage Devices” button and follow the instructions there.
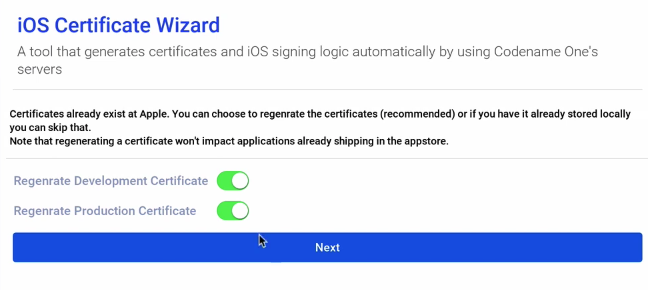
Next, it asks me to confirm that I want to regenerate my certificates, as it has detected that I already have certificates generated in my Apple account. In my case, I say “yes”, I’d like to regenerate them, but in most cases, you would select “no”, to just use your existing certificates.
TIP: If your certificates were generated by the certificate wizard, then a copy of them has been stored inside the $HOME/.codenameone/iosCerts directory, and the wizard will use them automatically. If they weren’t generated by the certificate wizard, and you choose not to regenerate them, then you may need to specify the location of your certificates in the iOS Settings section.
Next, it asks whether we want to generate push certificates. In this case, since this is just a basic Hello World app, we don’t need push, so I leave these options OFF.
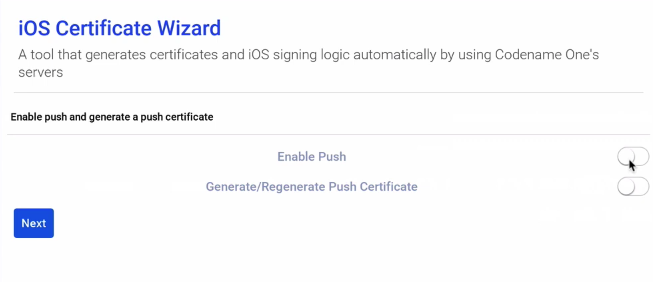
After clicking next, it will churn for a bit, and if all goes well, it will show us the message that our certificates were generated and installed successfully.
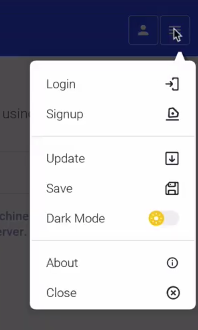
Just to be sure that my settings are saved. I click on the hamburger menu in the upper right, and select “Save”.
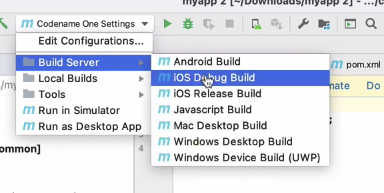
Sending the Build
Now that the certificates are generated, we can send the build. Back in IntelliJ, I select “Build Server” > “iOS Debug Build”
NOTE: If this is your first time building with the build server, you may be prompted for your Codename One username and password.
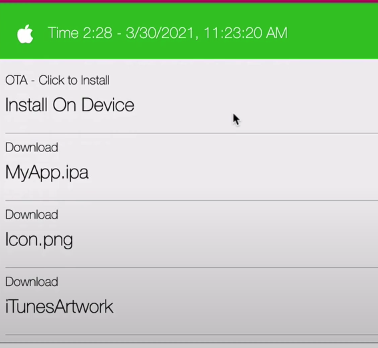
I then follow the progress of the build on the Codename One website.
When it’s finished, I get a set of links to do things like download the .ipa, or install the app on device.
Get Started
Getting started with your own native app is really easy. Just go to the Codename One initializr, enter your app details, and press “Download”.
For more information about Codename One, see the Codename One website.